studio


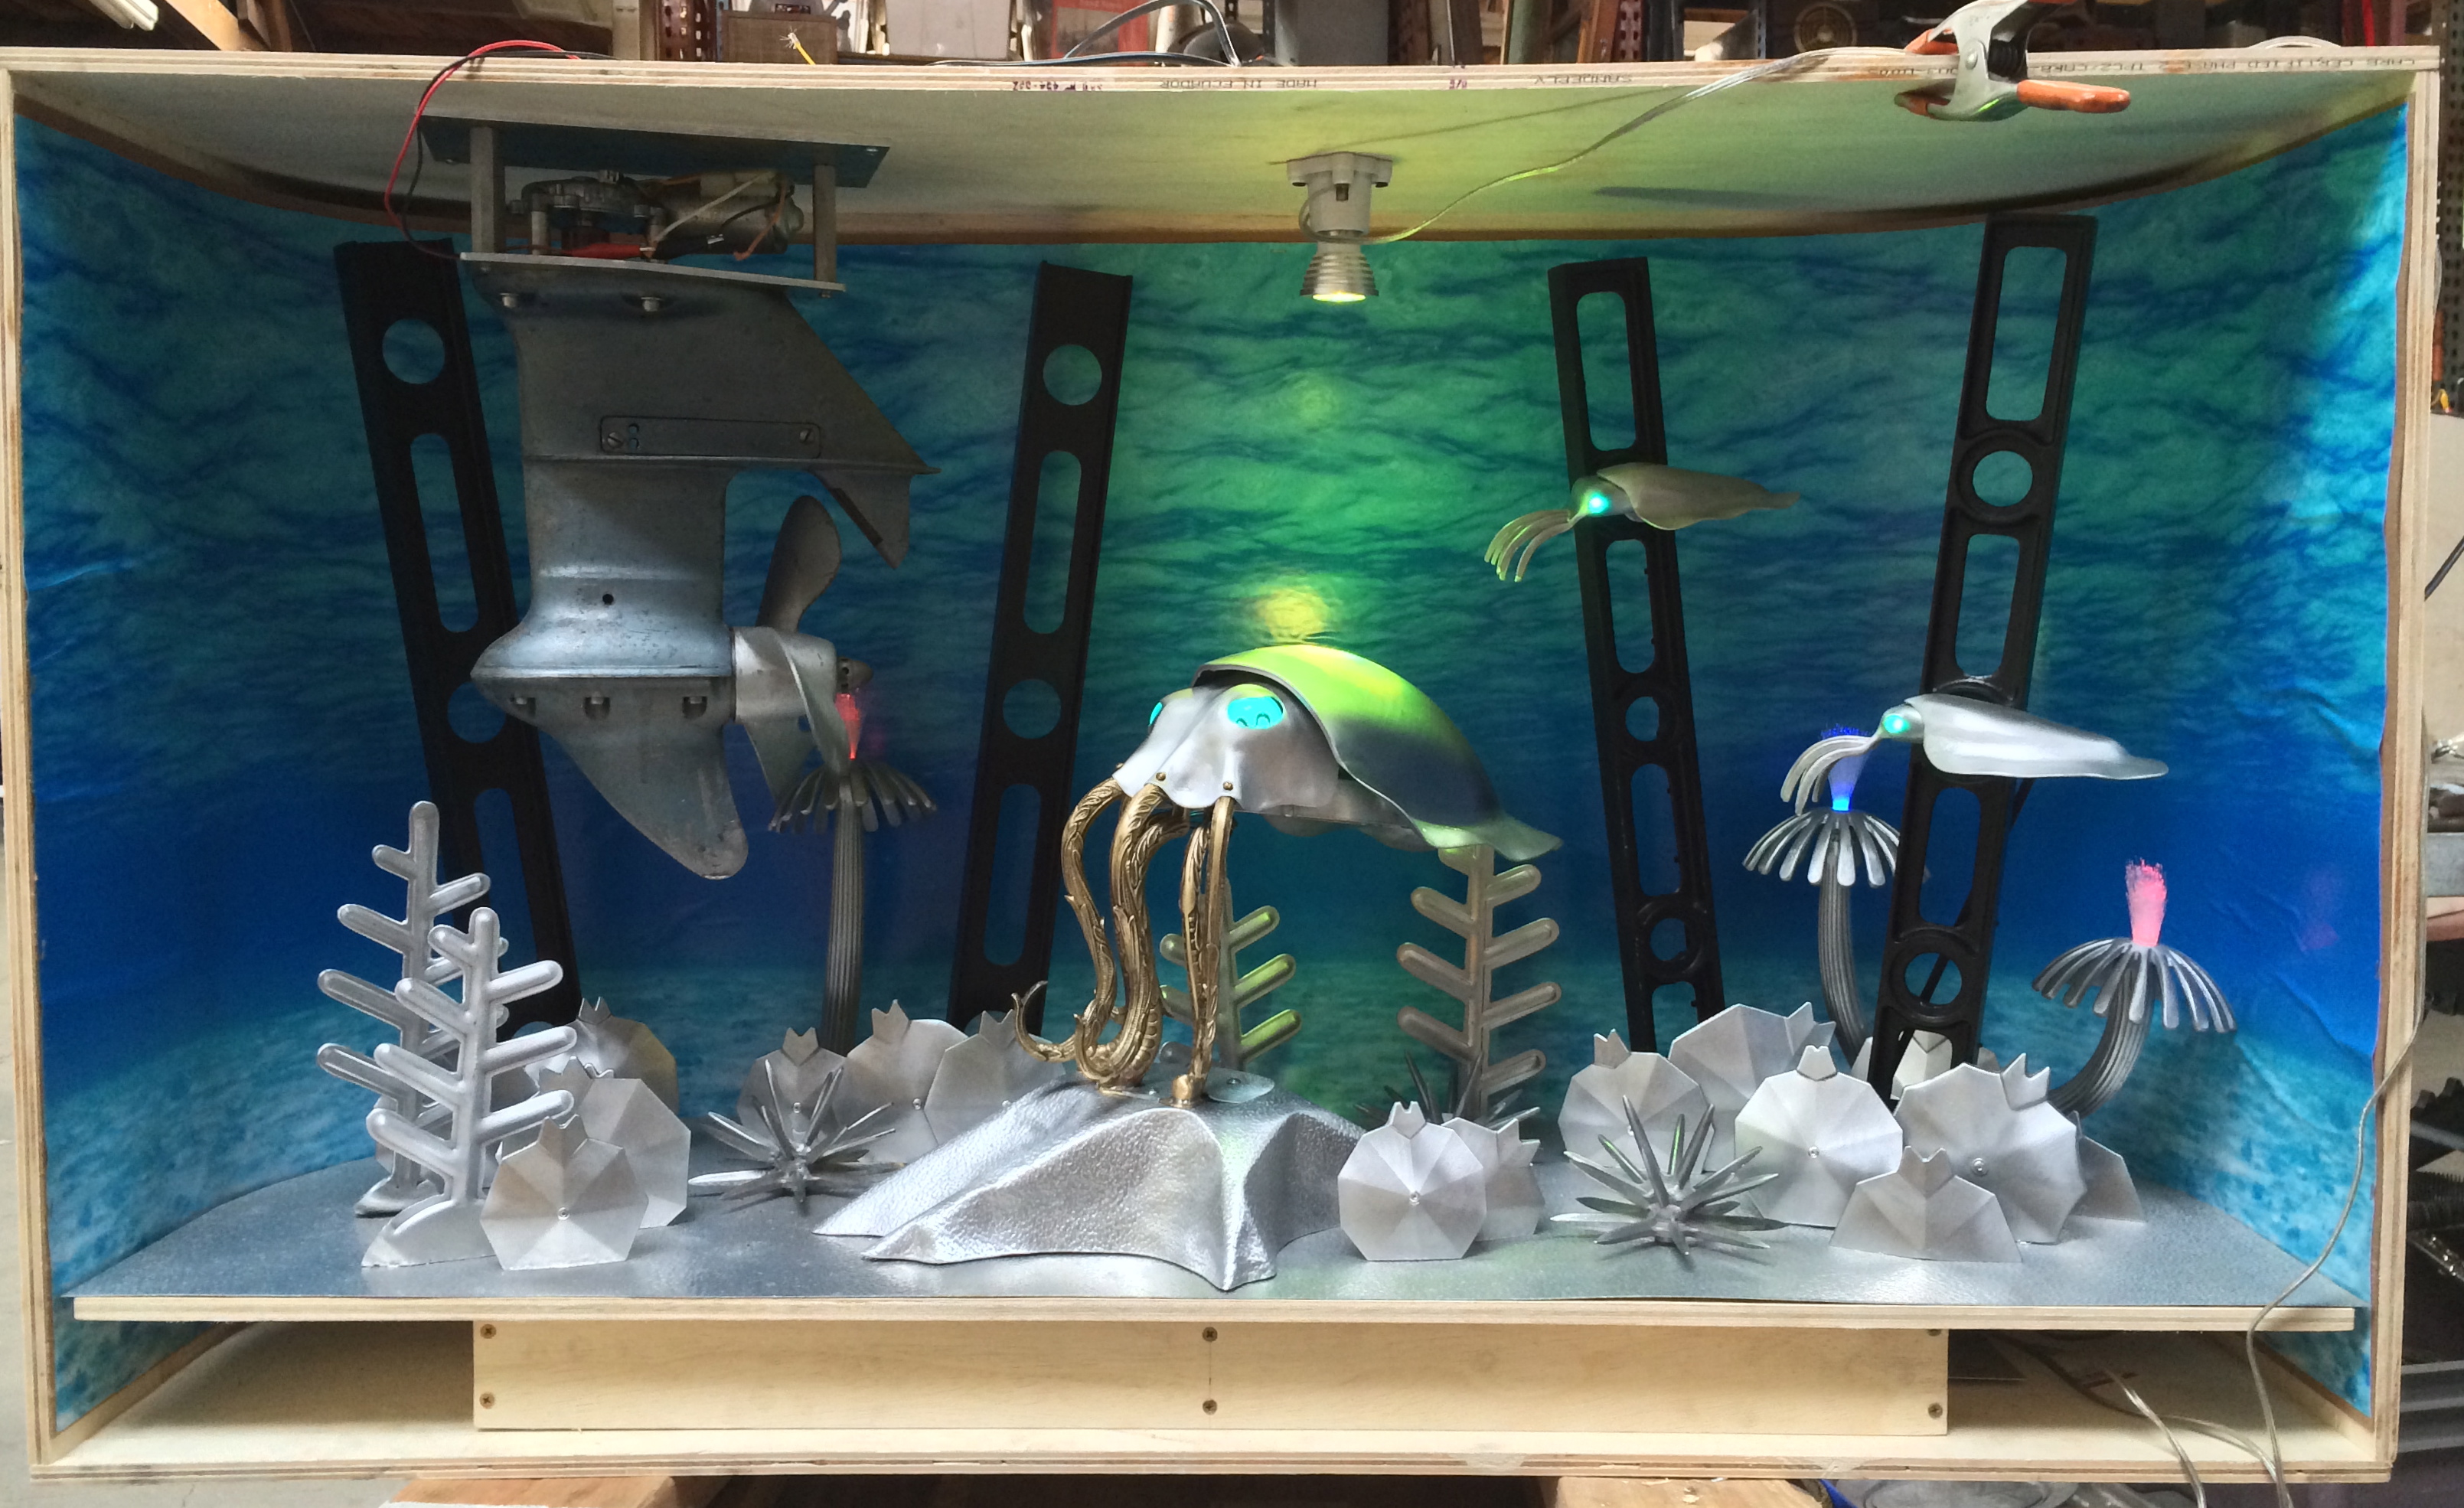
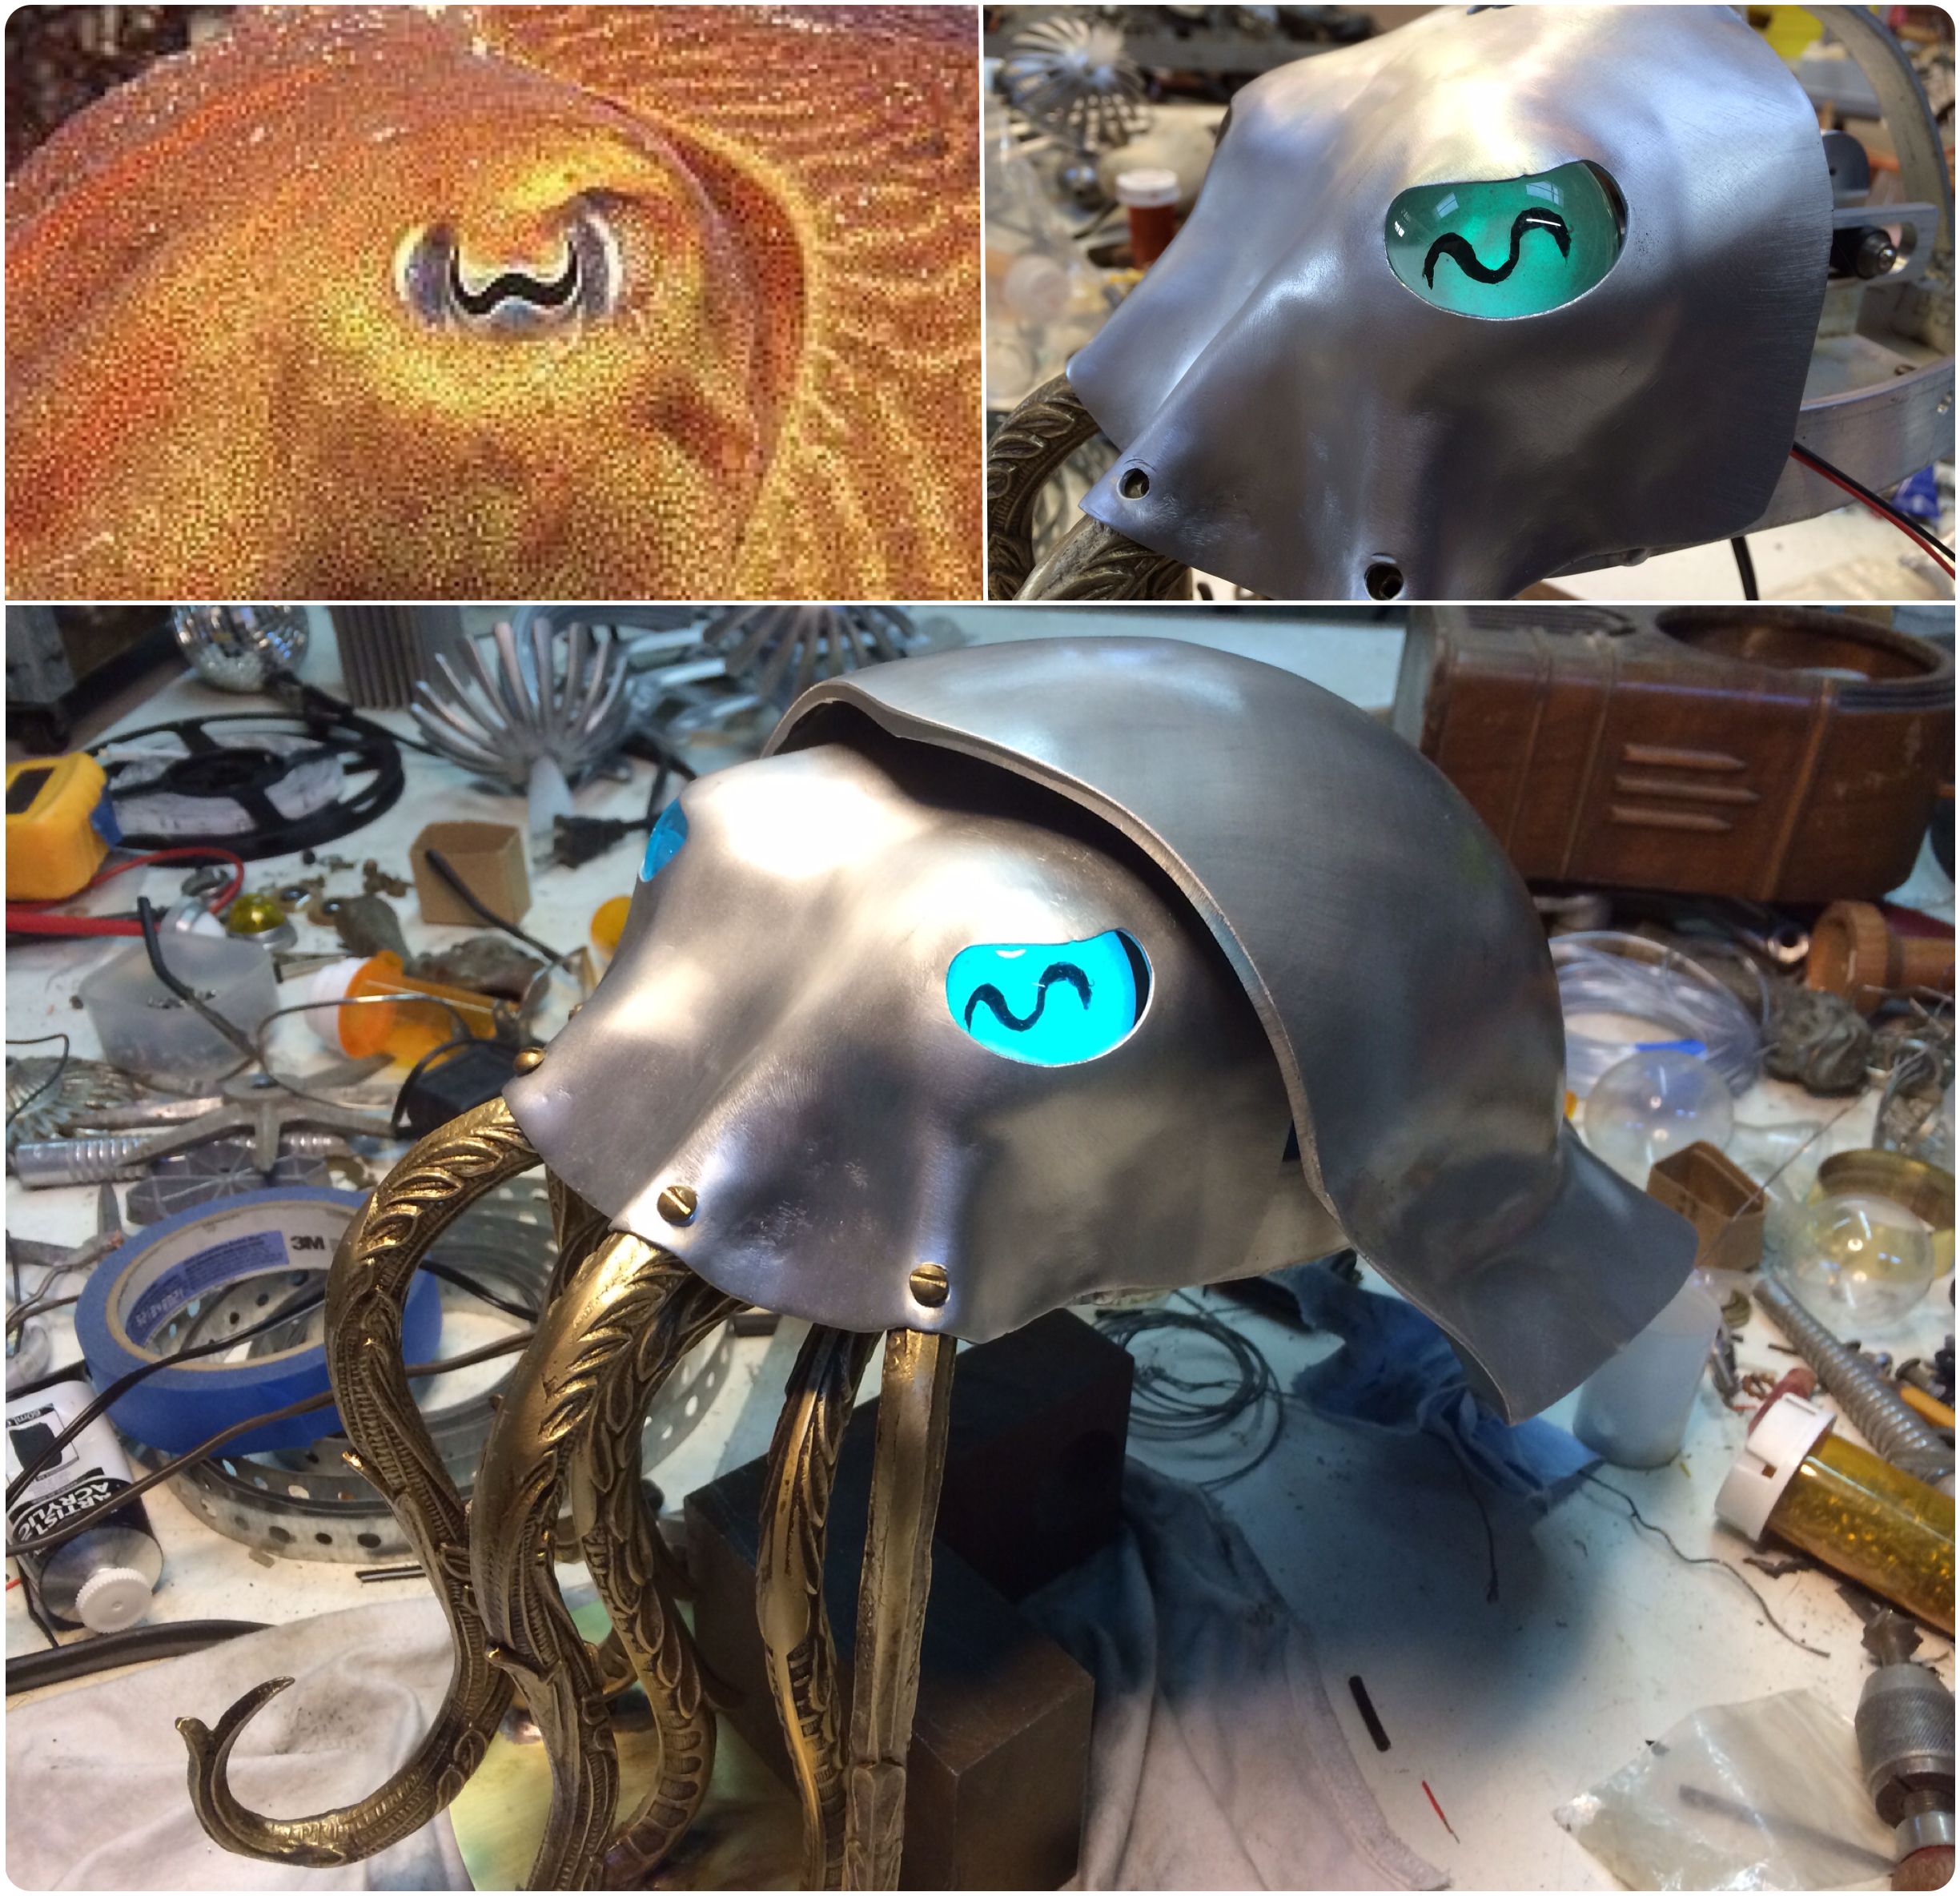
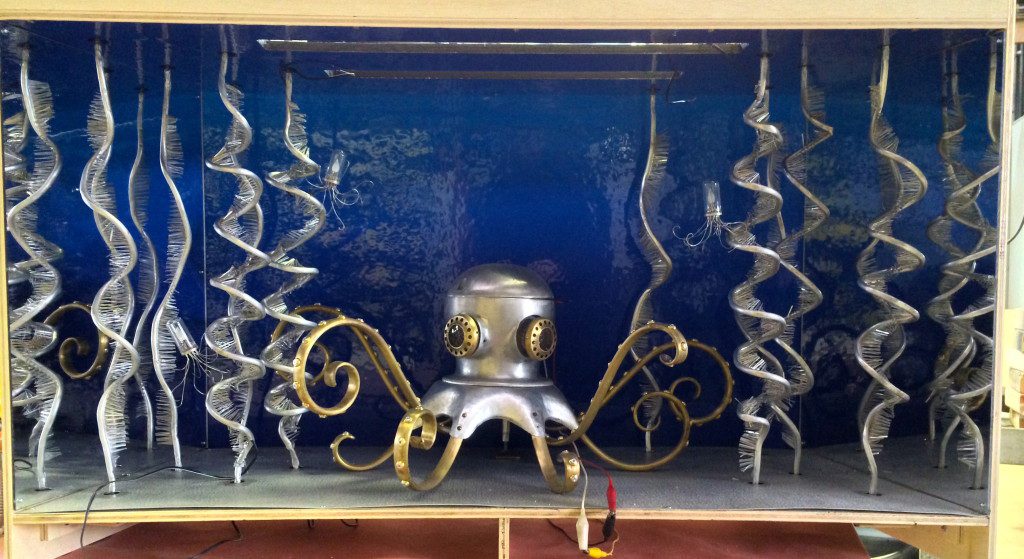
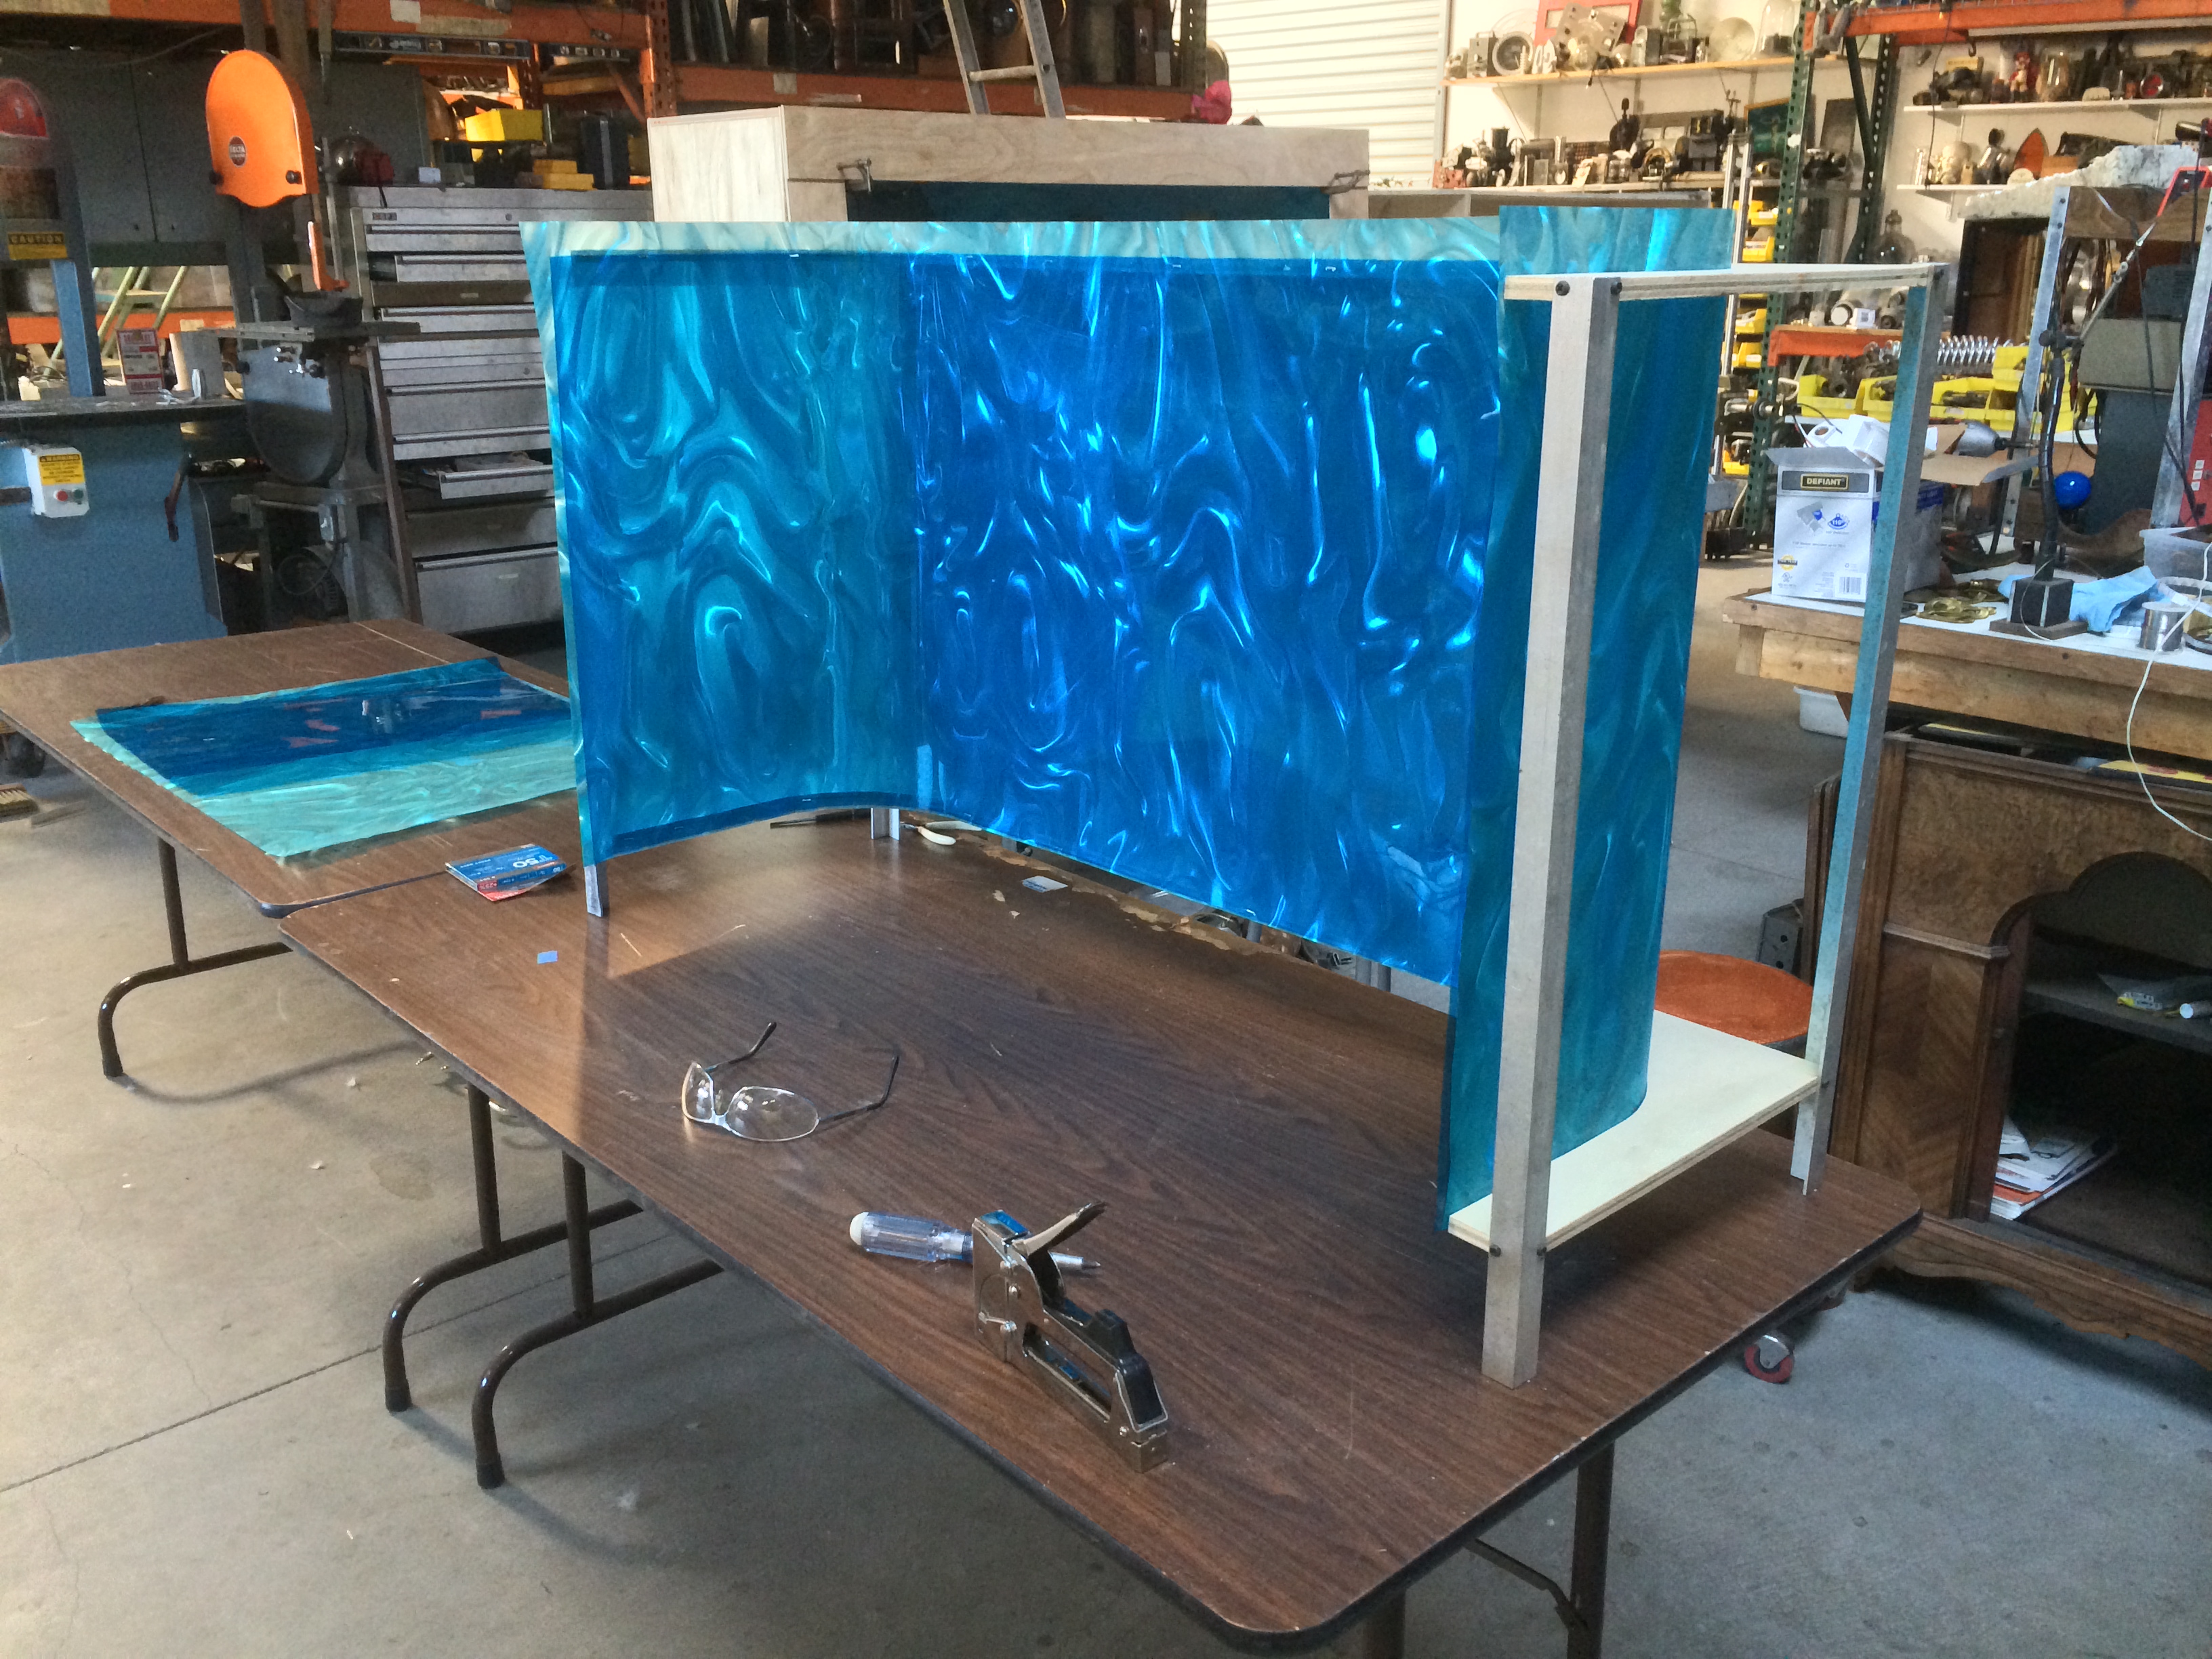
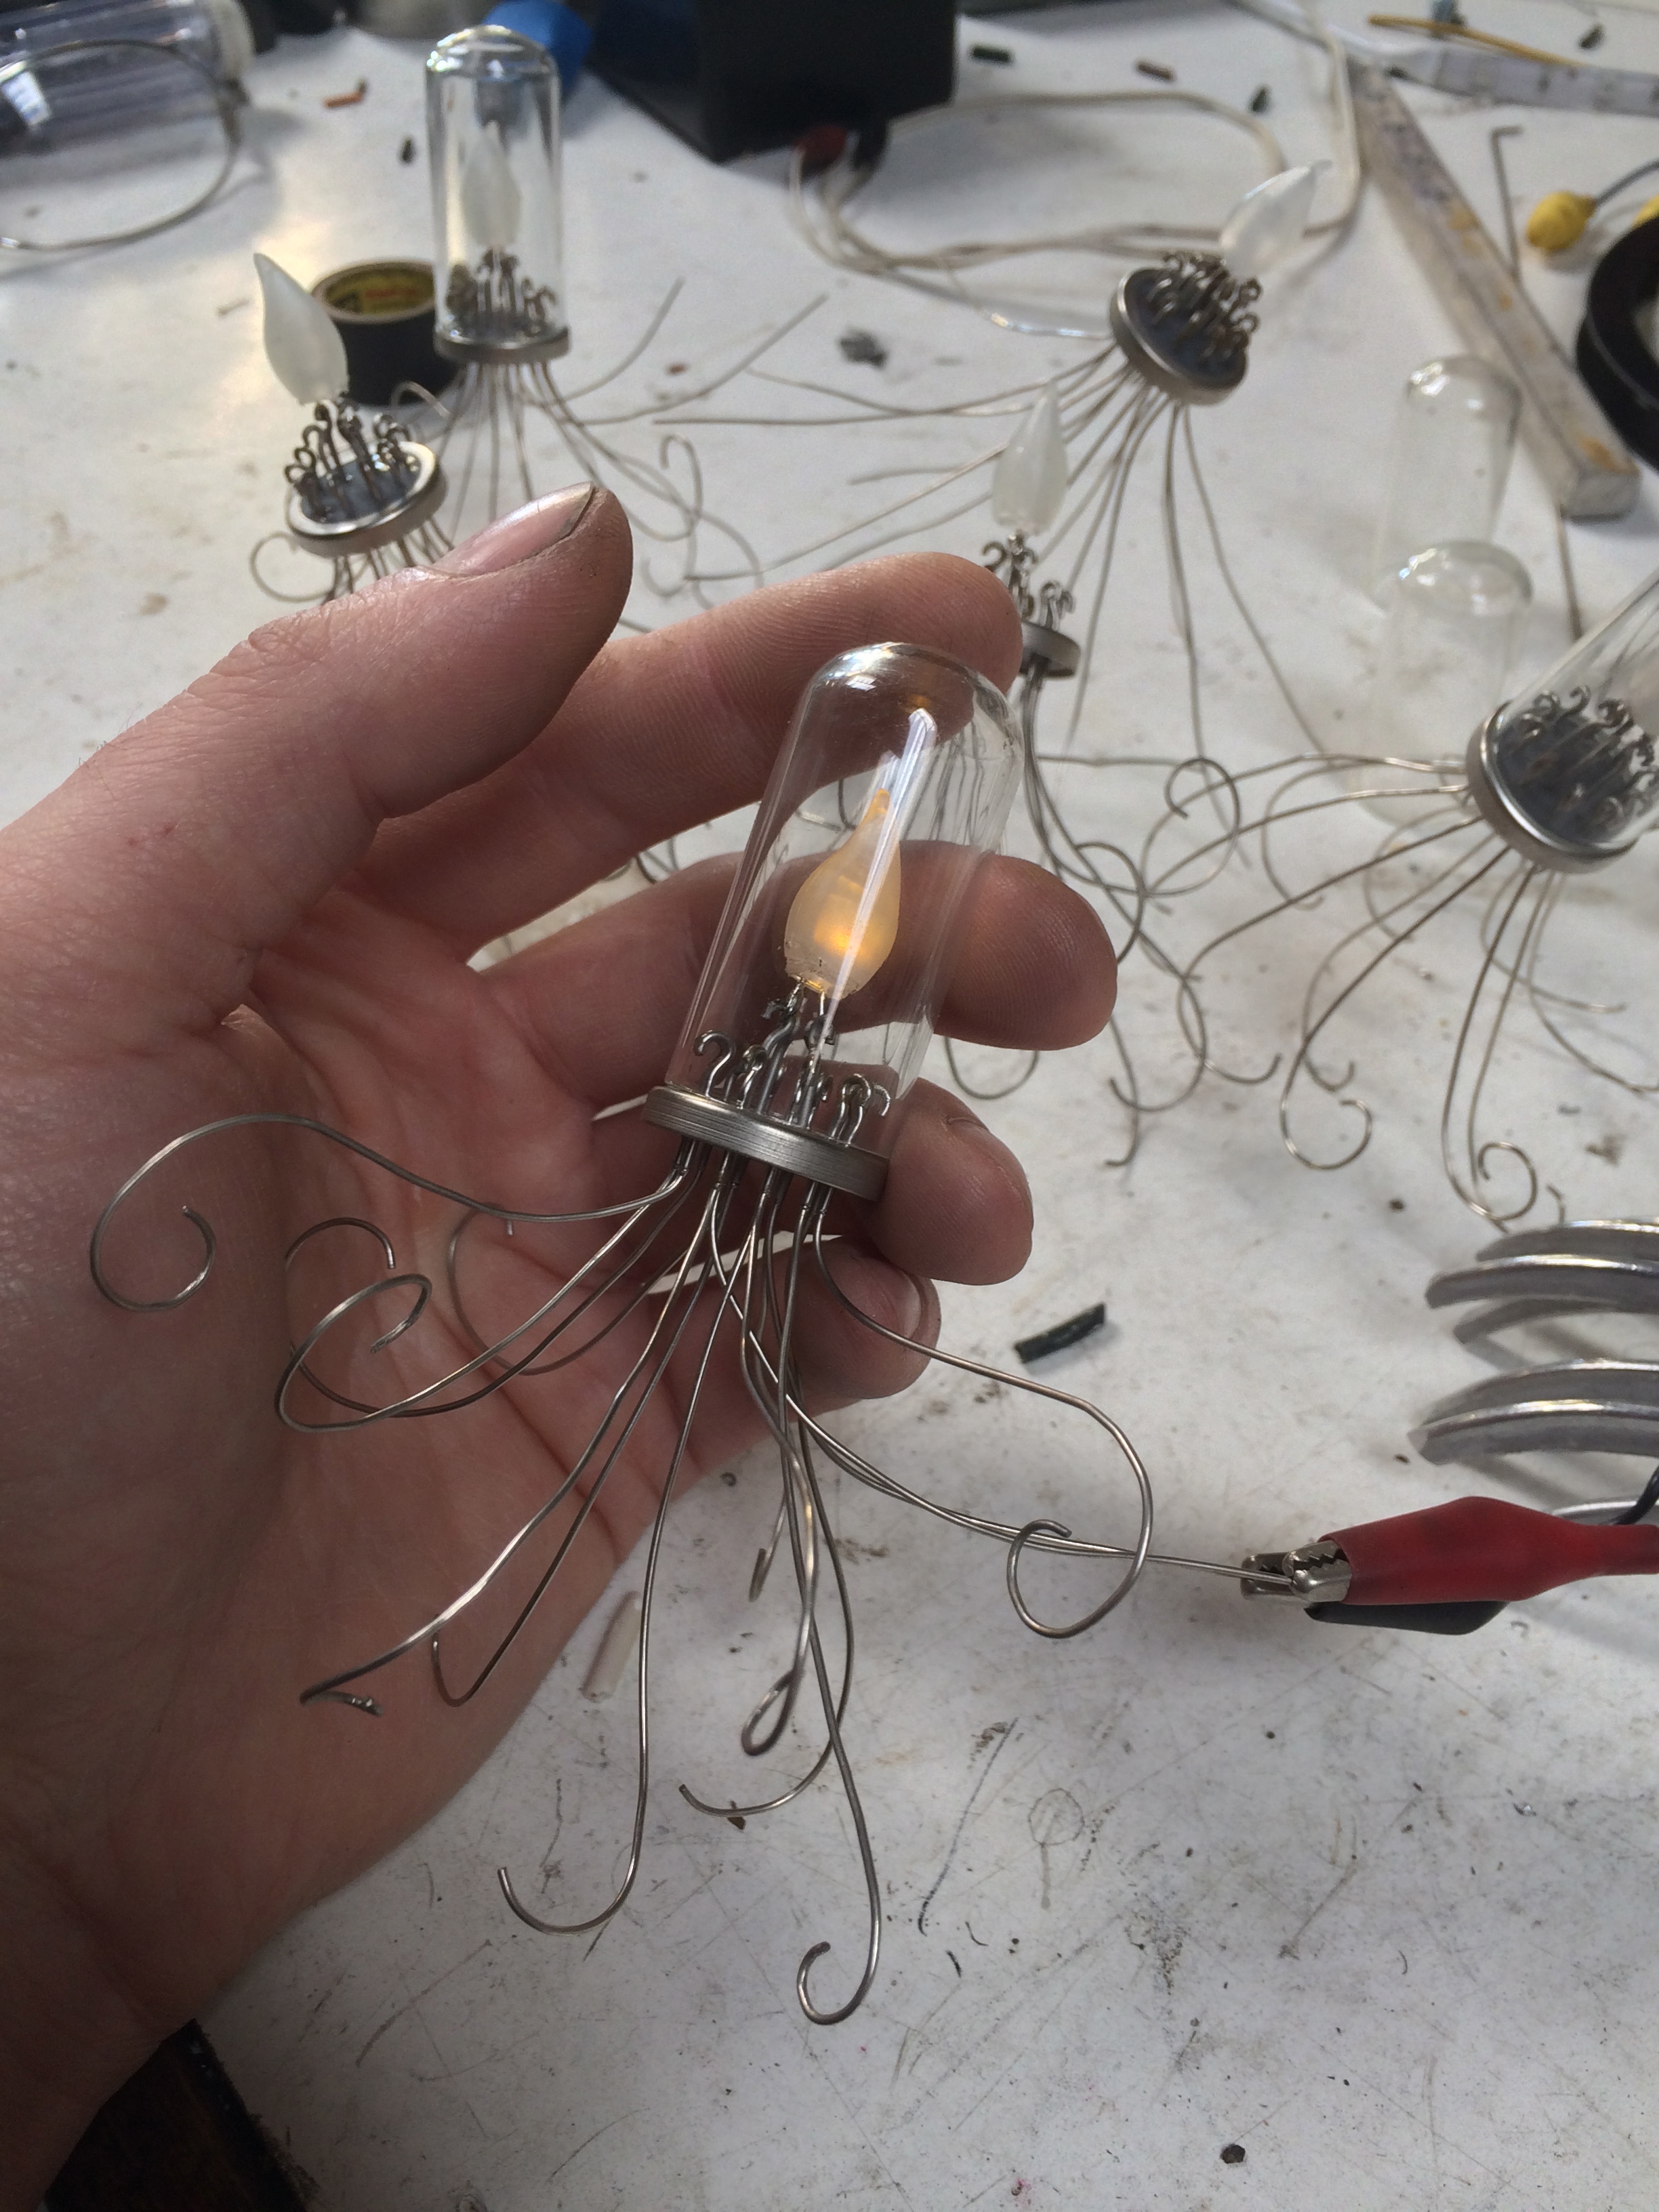
Hey Bay Area people.  I’m curating a show with Jeff Hantman that features former Artists in Residence from the San Francisco Dump.  I’ll have some of my new tiny pieces to share and I’ll have my studio open, as will several of the other awesome people in our compound.

Facebook event here.

See below for full details, tell a friend!

L&F Flyer

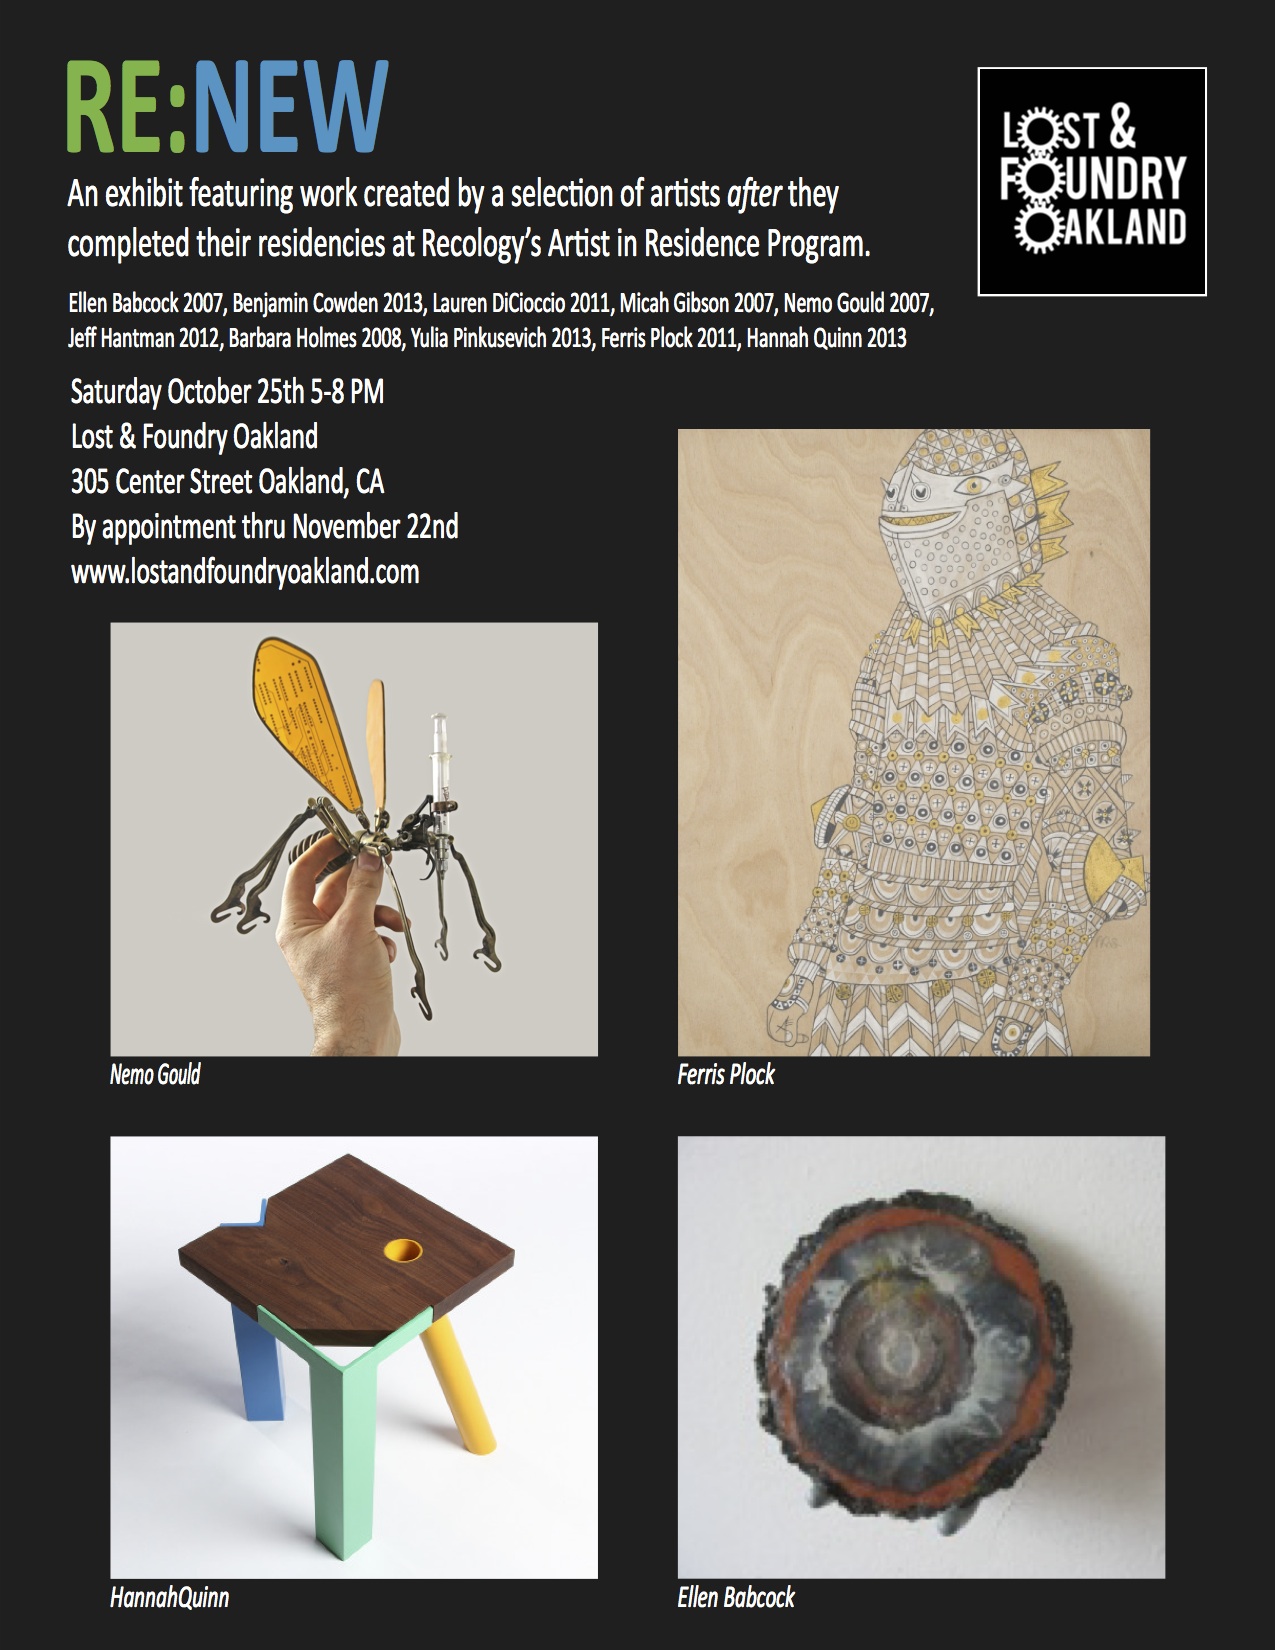
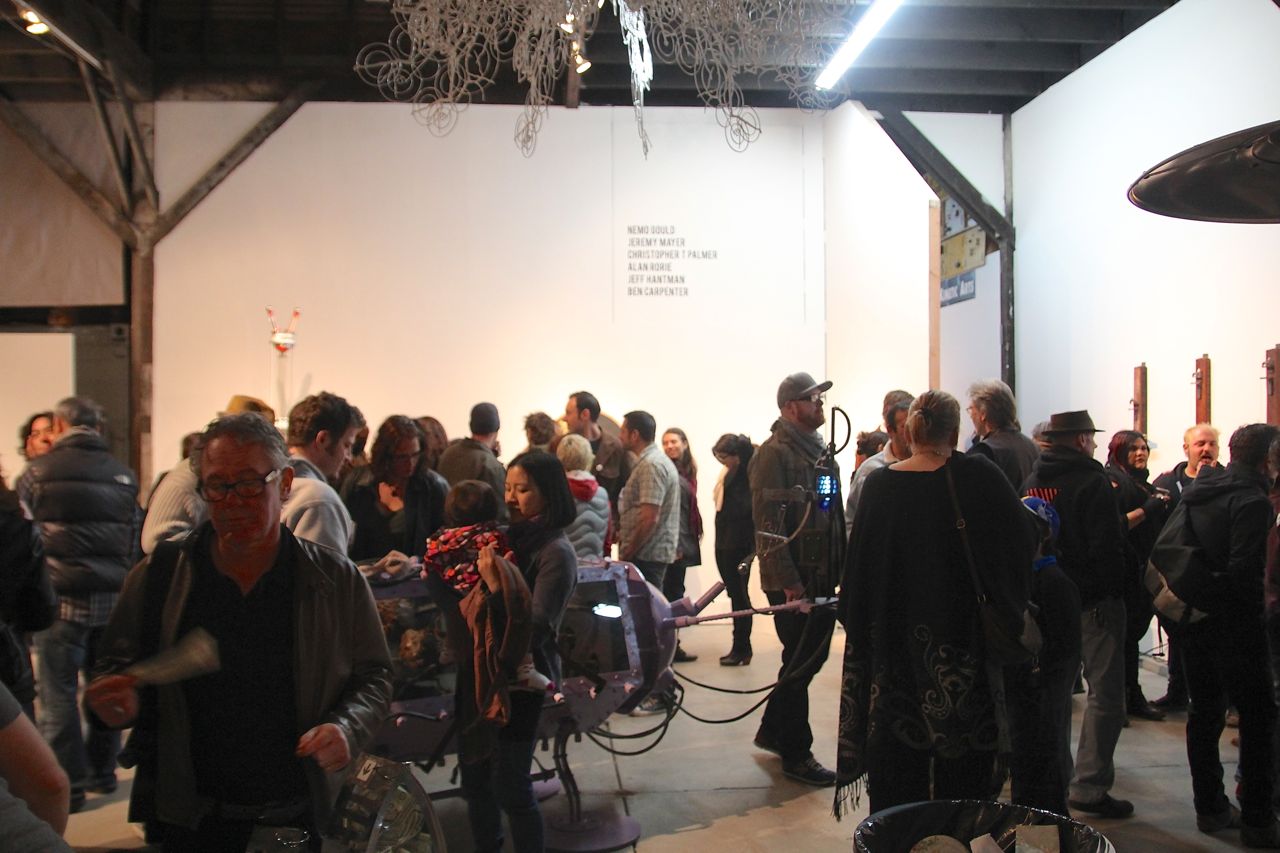
On October 25th, Oakland-based Lost & Foundry Studios and Gallery will present Re:New, an exhibit featuring work created by a selection of artists after they completed their residencies at Recology’s Artist in Residence program.

For nearly 25 years Recology’s Artist in Residence program at the San Francisco Dump has been providing artists with the facilities and support necessary to make art from the city’s waste stream. Over 100 artists have passed through the program making their own personal statements about art, waste, and reuse.  Through the years Recology has amassed an impressive collection of these works, and has worked hard to exhibit them throughout the city at a variety of venues.

Lost & Foundry co-directors Nemo Gould and Jeff Hantman are both alums of Recology, and have felt the impact this program has had on their work. This exhibit will pool together several diverse artists who have been similarly impacted by their experience, and demonstrate Recology’s role in shaping art in the Bay Area.

The Re:New exhibit will open Saturday, October 25, 2014 from 5-8 PM at Lost & Foundry Studios and Gallery, located at 305 Center Street, Oakland CA (only half a block from West Oakland BART.)

Featured artists (year in residence):

Ellen Babcock (2007)

Micah Gibson (2007)

Nemo Gould (2007)

Barbara Holmes (2008)

Ferris Plock (2011)

Lauren DiCioccio (2011)

Jeff Hantman (2012)

Benjamin Cowden (2013)

Yulia Pinkusevich (2013)

Hannah Quinn (2013)

Lost & Foundry Studios and Gallery is a collective art space in West Oakland.  Twelve artists and craftspeople currently work in the three building compound.  In addition to the exhibit in the gallery, many of the workspaces of the tenants will be open for viewing during the event.

IMG_3814Well, the Cuttlefish “tank” is really starting to shape up.  A breakthrough moment came when I decided to throw my whole collection of stove top coffee maker lids at the ground plain.  I’m not entirely sure what kind of plant they are supposed to represent, but their sheer numbers work to suggest some kind of life.  I’m still on the fence about the single color changing spot light.  The idea was to direct it at the large Cuttlefish’s back to suggest their color changing skin.  Once I’ve added in the general “water” lights I’ll make a decision.


IMG_0230While researching the extremely weird Cuttlefish for this project I was stuck by the odd shape of their eyes.  It’s difficult to capture all of the nuances that make these creatures, but its a start (I know, technically the irises are inverted in mine, don’t be so literal!).

IMG_0229


IMG_3673IMG_3670The Octopus I posted a while back finally has a home!  I settled on a deep blue fade background with beveled side mirrors to create a sort of infinity effect.  The real trick was getting all of the seaweed (refrigerator coolant lines) to twist in sync with each other.  This was important because I wanted to create the effect of a current running through the “tank”.  They are powered by the motor from the seat adjust mechanism from a BMW sedan.  I found it ran a little fast so the large gear was added to slow the speed and raise the torque of the system.

The long, ugly cuts in the center are to allow for strips of LEDs to illuminate the interior.  I’m pretty anxious now to move on to that stage so I can see how it looks all lit up.

A good deal of work still remains.  I hope to better develop the floor and raise the Octopus higher to better center it in the frame.  More little jelly fish will also be added to the background.


As I move forward on my undersea diorama series I find its time to get serious about the backdrops.  I found some really terrific psychedelic plastic material that looks a good deal like water.  By overlaying it with some blue acetate the effect is even stronger.

IMG_3515

I wanted to back light it with color changing LEDs but ran into some trouble getting a good sequence of colors.  I face pressure daily to get with the times and start programing my own electronics for these pieces, but its just not in my nature to turn to my computer to solve tangible problems in the studio.  The LEDs I chose for this project come with a handy little sequencer that you can program (with actual buttons) to output all sorts of patterns.  A gentle color shift selection was really nice, except that the reds were out of place for an underwater scene.  I struggled with this until it finally occurred to me:  Connect the “red” signal wire back to the “blue” contact on the LEDs!  Worked like a charm.  Shown in the video below is the result with two parallel rows of the LEDs with the blue and green lines crossed between them to change up the pattern even more.  IMG_3520


A while back I posted about the initial failure that I faced with this piece.  Well, since then I have encountered even more failure before finally getting things working properly.  In the beginning I attempted to power this one with a wind up record player motor. Finding it lacking in torque I started over with an electric motor.  This too proved fruitless as I had chosen a bad motor.  When I face these sorts of set backs I tend to just walk away from the project until my head cools.  Upon picking it up again this week I selected yet another motor and built a tedious little universal joint drive shaft to compensate for some minor mis-alignment in the mechanism.  These changes finally did the trick!  I’d still like to do something to make it run a little quieter, and all that brass will need some sort of polishing and patina, but at least it works!

IMG_0197

Did some more finessing of the tentacles on this Octopus piece.  Pre-existing holes from the original chandelier were filled, paint was removed, surface polished, pop rivets and washers added as suction cups.  I’ve also installed glass doorknobs with LEDs as eyes.  Still not sure if I’ll keep the brass rings around the eyes though.  They balance the finish of the tentacles nicely, but I want to avoid the “steampunk” goggle look, its bad enough that I’m making an octopus with brass tentacles.

IMG_0196

I’ve been working on a series of sea creature dioramas.  Things have been moving along nicely with regards to the Octopus and Nautilus, but the Cuttlefish has been giving me a hell of a time.  Unlike his comrades I’ve never really tried to capture the shape of these little beasties.  None the less I’m finally breaking through and have a rough start to share:

IMG_0195

I just got the mechanism working on a new Nautilus sculpture.  Eventually it will be built in to a diorama for the Monterey Bay Aquarium.  I still plan to add a few more tentacles and install a LED behind the eye, as well as a few other small touches.  I’ve found its best to work out the moving elements before getting lost in the details though.

I’ve begun work on the main element of one of three diorama projects.  This one will soon be an octopus.  Half of the tentacles will be static, and hold the creature in position.  The other half will move (though I’m not entirely sure how yet).

Big thanks to Tal to donating the odd aluminum gear case that I’m using for the head.

IMG_0185

My upcoming diorama projects have compelled me to re-catalog a good deal of the smaller items in my collection.  A lot of this stuff just settles down to the the bottom of bins, and groups of similar objects drift apart into different areas of the shop.  Shown here are items that I’m hopeful will have futures as cephalopod tentacles and sea-floor life (plants and stuff).  Whatever happens, its fun to see all these treasures laid out side by side.

IMG_2684

This image may not look like much but it is very exciting for me.  These three cases will soon hold three large dioramas that I am building for the Monterey Bay Aquarium for their upcoming Cephalopod exhibit.  It’s still a long way off, but eventually the Cuttlefish, Octopus, and Nautilus will each be represented.

IMG_2675

I’m very pleased to say that it has been a long time since I’ve had good clean failure in the shop.  Unfortunately today I broke my streak.  I’ve always said that failure is a necessary aspect of learning and now its time to eat my words.  I’ve had this little brass corkscrew figure in the works for quite some time.  I’ve just been working up the nerve to build it into a machine using an old wind up record player motor.  The trouble with these is that they produce very little torque.  I believed I had worked around this by adding a gear box which would reduce speed and increase torque.  Unfortunately after many hours of fiddling I have to admit that the motor just isn’t up to the task.  The piece will eventually work out, I just have to use an electric motor, and return to the ambition of a spring powered one another day.

IMG_0168

MercurySwitchHere is another fetishized mercury switch for a new piece.  I have a collection of these things and every once in a while I can’t resist building one up like the jewel I think it is.  This one, like so many others spent its life sealed up in a dreary thermostat.  Shine little blob of mercury, shine.


I recently made the decision to mount a large panel meter in a wooden radio cabinet for a project I’m working on.  I wasn’t pleased with how the square edges of the meter clashed with the curved lines of the cabinet though.  This image shows some of the steps involved in making the two elements work better together.  I’m still debating whether or not to paint the meter with black wrinkle paint, or leave it bare.  We’ll see…

Oh yeah, and the “eyes” were once indicator lights, but now have little numeric counters installed.  When powered they will display rotating digits.

FaceLift

It’s pretty unusual for me to find myself making multiples of parts.  Lately I’ve been working on a figure that will have four arms, so I’ve had to make an exception.  Shown here are the individual pieces that will make up the shoulder joints.  The motor mounts and cranks will come later.

ShoulderJoints

A short while ago Michael Sturtz gave me a nice old radio.  You can see from the “before” image on the left that its face had been damaged.  Upon seeing it I immediately worried that it would displace the head I had been developing for a large scale figure I was working on.  Well, this turned out to be the case.  The radio has since evolved into some kind of Chihuahua / Bat / Monkey creature.  I’m currently working on a little machine that will cause the eyebrows to pivot back and forth on their center.

IMG_0158

I’m working on a new large piece that I would like to have four arms.  This is tricky because it means finding twice as many matching parts as usual.  I think I’ve settled on a design I like that I can replicate.  It consists of bean scoops, table legs, pipe elbows, coffee pots, and some strange industrial wooden spindle things I cant identify.  Ideally the wrists, elbows, and fingers will have a little bit of adjustability so that each arm can have a slightly different pose.

arm1

CTP gave me these incredibly cool bomber pilot map lights a while back.  You can change the output from a clear amber light to blood red by rotating the lens.  It has always been my intention to incorporate them into a sculpture as eyes.  Its finally looking like I’ve got just the right project in the works to do this.  We’ll see…

Bomber pilot map light